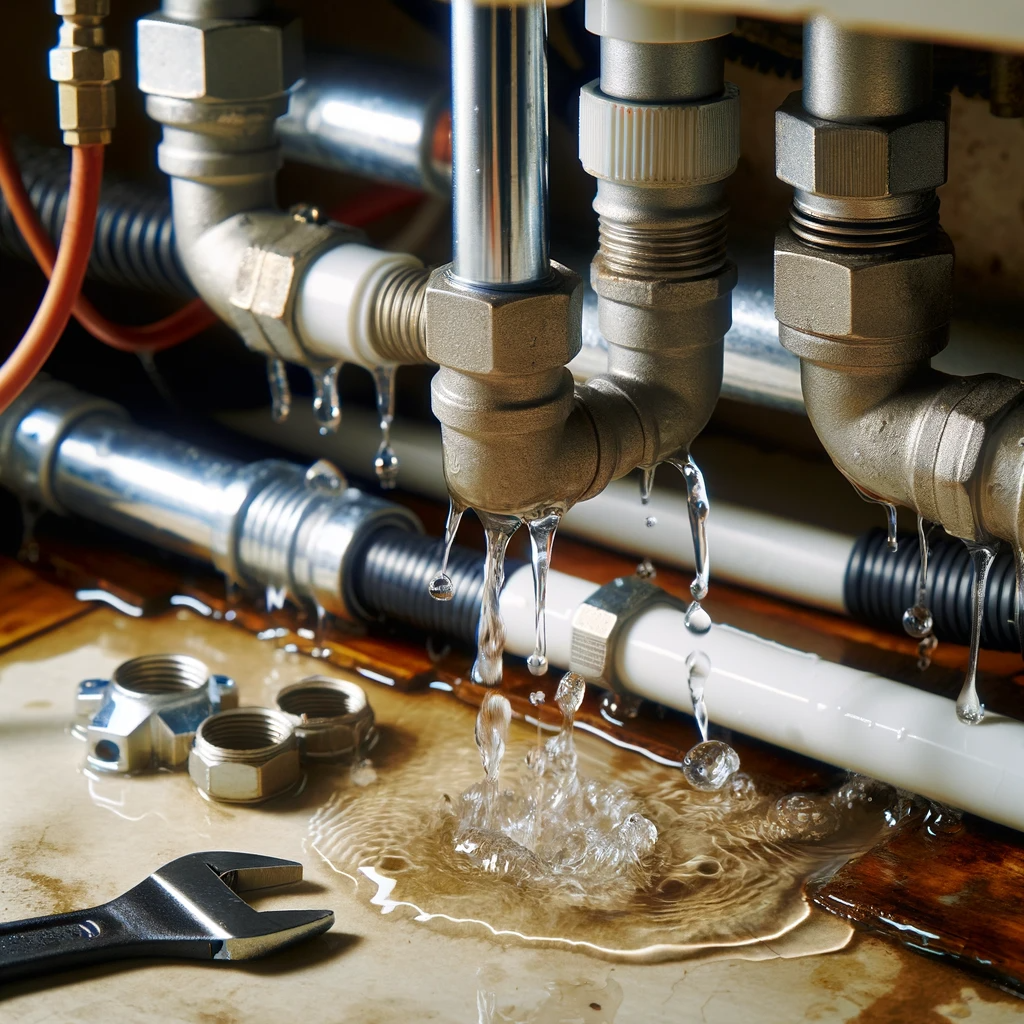
Leaky sinks are a common household problem, but with the right tools and a bit of know-how, they can usually be fixed without needing to call a professional. Here’s a step-by-step guide on how to repair a leak under a sink.
What You’ll Need:
- Adjustable wrench
- Bucket or bowl
- Replacement washers or O-rings (if necessary)
- Plumber’s tape
- Cleaning rags

Step 1: Identify the Source of the Leak Before you start, make sure to turn off the water supply to the sink. Place a bucket or bowl under the pipes to catch any dripping water. Then, inspect the pipes and fittings under the sink to locate the source of the leak. Common culprits include loose connections, worn-out washers, or damaged O-rings.
Step 2: Tighten Connections Use an adjustable wrench to tighten any loose connections. This is often enough to stop a leak caused by a loose joint. Be careful not to over-tighten, as this can damage the pipes.

Step 3: Replace Washers or O-Rings If the leak persists, it might be due to a worn-out washer or O-ring. To replace these, you’ll need to disassemble the connection. Remember the order in which you remove each component. Replace the old washer or O-ring with a new one, and then reassemble the parts in the same order.
Step 4: Use Plumber’s Tape If the leak is coming from the threads of the connection, wrap plumber’s tape around them before reassembling. This helps to create a watertight seal.
Step 5: Test Your Repair Once everything is back in place, turn on the water supply and check for leaks. If there are no leaks, you’ve successfully repaired your sink!
Step 6: Clean Up Use a rag to clean up any water that may have spilled and to wipe down the pipes.
Leaks can vary in complexity, so if you’re not comfortable doing this yourself, or if the leak persists, don’t hesitate to call a professional.
Remember, regular maintenance and prompt repairs can prevent small leaks from becoming big problems. Stay vigilant and your plumbing will thank you!


